
The Ultimate Wedding Posing Guide: How to Look Natural, Confident, and Radiant (For Brides, Family, and Guests!)
- 3 days ago
- 9 min read
So, the invitations are sent, the outfits are locked in, and the big day is fast approaching.

But suddenly, a wave of panic hits as you think about the camera: What on earth do I do with my hands? How do I pose without looking like a stiff mannequin?
First, take a deep breath. It is completely normal to feel a little camera-shy.
Whether you are the star of the show in a white dress, a proud parent, or a guest wanting to look your best in the background candid shots, standing in front of a professional lens can feel intimidating.
The secret to stunning wedding photos isn't about being a "perfect" model; it’s about movement, angles, and connection. Here is your ultimate, stress-free wedding posing guide to help everyone look and feel incredible.
Part 1: For the Bride – Mastering Solo Elegance
If you secretly moonlight as a runway model, you can skip this part. For everyone else, here is how to look relaxed and radiant in your bridal portraits.
1. The Golden Rule: Create Space and Angles

When we get nervous, our instinct is to pull our arms tight against our bodies.
Paradoxically, this can make us look tense and flattens out our arms against our torso.
The Fix: Keep a slight gap between your arms and your body to create a flattering silhouette.
Pop a Knee: Put your weight on your back foot and slightly bend your front knee. This instantly creates a beautiful, natural curve and drops your shoulders into a relaxed position.
💡 Pro-Tip: If it bends, bend it! Wrists, elbows, knees—slight bends look incredibly elegant and soft, whereas straight lines can look rigid.
2. Master the "Soft Hands"

Don't hold your bouquet like a microphone right under your chin!
The Bouquet Hold: Hold the bouquet down by your belly button. Relax your shoulders and tilt the flowers slightly forward toward the camera so the lens catches the full arrangement.
The Gentle Touch: When you aren't holding flowers, give your hands a job. Gently graze your collarbone, touch your earring, or softly lift a piece of your veil. Keep your fingers loose and separated—think "ballet hands."
Part 2: Universal Posture Tips – The Foundation of Every Great Photo
Good posture isn't about standing at military attention; it’s about alignment and breathing.
Before the shutter clicks, remember these three steps:

Roll and Drop: Roll your shoulders up to your ears, push them back, and drop them down. This instantly elongates your neck and gets rid of "stress shoulders."
The Invisible String: Imagine a string attached to the crown of your head, gently pulling you upward.
Shift Your Weight: Standing flat on both feet can make you look boxy. Shift 70% of your weight to your back foot. It relaxes your front leg and naturally tilts your torso into a more dynamic, flattering angle.
Breathe Through Your Mouth: If you find yourself holding your breath, your jaw will look clenched. Slightly part your lips and exhale right before the camera clicks. It softens your entire face.
Part 3: For the Groom – Sharp, Relaxed, and Confident
Grooms often get the short end of the stick when it comes to posing advice, leading to the dreaded "hands clasped like a soccer player in a free-kick wall" look. Let's fix that.
1. The Casual Dapper Look
The goal for a groom is to look effortlessly tailored.
The Anchor Hand: Put one hand fully in your pocket, but keep your thumb hooked outside. This keeps the posture casual while showing off your suit’s tailoring.
The Button Adjust: Look down and pretend to adjust your jacket button, cufflinks, or watch. This creates an authentic, high-fashion candid shot.
Shift and Lean: Lean your hip slightly against a wall, a railing, or a structural element. Leaning breaks up the rigidity and adds an air of cool confidence.
2. The Jacket Swag
The Lapel Hold: Bring one hand up to gently hold your jacket lapel. It gives your hand a purpose and creates a strong, masculine angle with your elbow.
Part 4: The Bride & Groom – Capturing the Connection
The best couple's photos don't look like poses; they look like moments. To achieve this, focus on each other, not the camera.

1. Close the Gap
The camera magnifies empty space. If there is "daylight" between your bodies, you will look disconnected.
The Fix: Hip to hip, chest to chest. Wrap your arms around each other completely.
2. The "Almost" Kiss
A direct kiss can sometimes smash your noses or look flat on camera. Instead, go for the almost kiss.
The Fix: Bring your lips less than an inch apart, close your eyes, and smile slightly. The anticipation creates an incredibly romantic, high-voltage photo.
3. Action over Static
Don't just stand there—move!
The Stroll: Walk hand-in-hand toward the camera, looking at each other and laughing.
The Whisper: Grooms, lean in and whisper something funny or sweet in her ear. The genuine reaction caught on film is always a keeper.
Part 5: Same-Sex Couples – Balance, Symmetry, and Style
Traditional wedding photography guides often rely on outdated "masculine vs. feminine" tropes. For same-sex couples, the key is capturing complementary energy and visual balance.

1. The Two-Suit Dynamic
When both partners are wearing suits, standing shoulder-to-shoulder can look like a business meeting.
The Stagger: Have one partner stand slightly ahead of the other, with the back partner wrapping an arm around the front partner's waist or shoulder.
The Contrast Hold: One partner can go for the relaxed "hand-in-pocket" vibe while the other adopts the "lapel-hold." This creates visual variety so your outfits don't blend into one big block of fabric.
2. The Two-Dress Harmony
Two gowns mean beautiful texture, but a lot of fabric to navigate.

The Back-to-Front Embrace: One partner stands in front, and the other wraps their arms around them from behind, nesting closely. This showcases the back details of one dress and the front details of the other.
The Veil Magic: If one or both partners are wearing a veil, have the photographer bring it over both of your heads. It creates a private, ethereal world just for the two of you.
3. Mirroring and Equality
The Face-to-Face: Hold both hands between you, look each other in the eye, and lean your foreheads together. It’s symmetrical, deeply intimate, and keeps the focus entirely on your connection.
Part 6: For Family Members – Ditching the Rigid Lineup for Better Group Photos
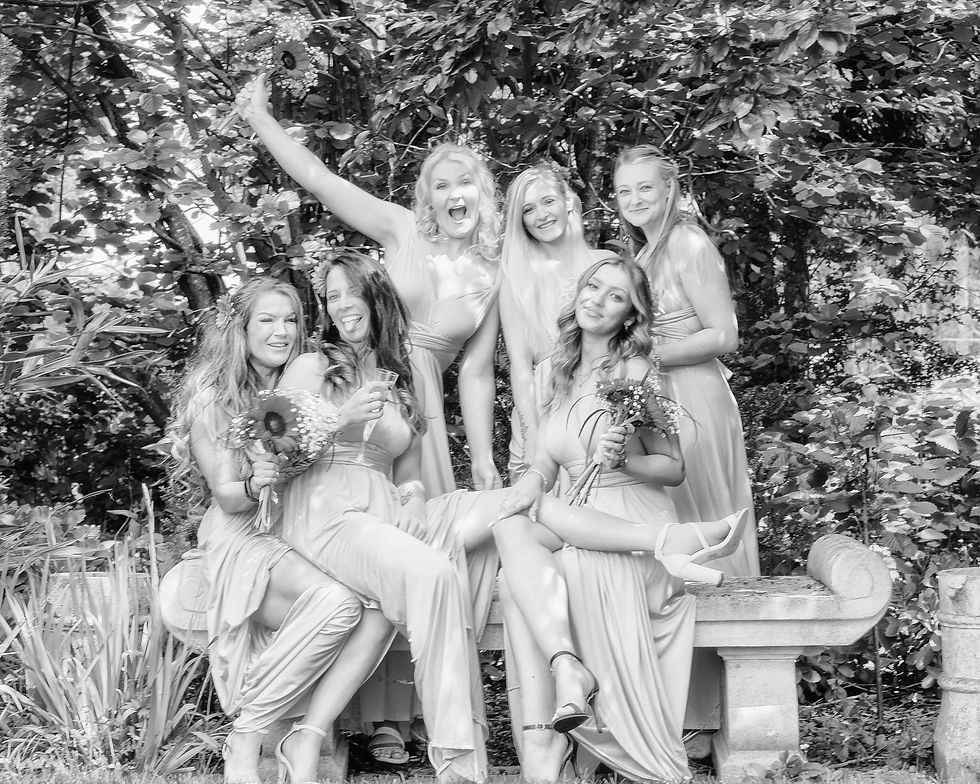
Let’s be honest: traditional family wedding portraits can feel incredibly uncomfortable, outdated, and frankly, unflattering. Standing side-by-side in a flat, endless row makes everyone look stiff and wide—more like a tense police lineup than a celebration of love. Beyond the aesthetic crime of the straight line, this is usually the most time-pressed part of the day.
Here is how to banish the rigid class-photo vibe, keep everyone looking connected, and move through the list efficiently so you can all get back to the open bar.
1. Burn the Straight Line (Stagger Your Shoulders)

When people stand shoulder-to-shoulder in a flat horizontal line, it creates a massive block of visual weight that flatters absolutely no one. It looks clinical, cold, and incredibly outdated.
The Fix: Destroy the line by turning your body at a 45-degree angle toward the centre of the group (where the couple is standing). This instantly slims your profile, breaks up that awkward wall of torsos, and allows everyone to tuck in tightly.
The Overlap: Embrace the overlap! Have a relative stand half a step behind you, nesting into the space behind your shoulder. Creating this front-to-back depth makes the photo look like a dynamic, editorial portrait rather than a rigid queue.
2. Ban the "Fig Leaf" (The Power of Touch)
Nothing screams "I am uncomfortable and want to leave" louder than hands hanging limply at your sides, or worse, the dreaded "soccer wall" pose where hands are tightly clasped over your crotch.
The Fix: Reject the corporate alignment and actually connect with your family. Wrap an arm around a waist, place a hand on a shoulder, or hold hands. Physical touch breaks up awkward negative space and injects genuine warmth into the frame.
Commit to the Lean: Physically lean into the person next to you. In photography, physical distance translates to emotional distance. If there is even an inch of empty daylight between you and your relative, the camera will magnify it, making you look detached.
3. Keep Your Eyes on the Single Prize
During family portraits, Uncle Bob and Aunt Sarah inevitably hover behind the professional photographer to snap phone pictures. This is the ultimate recipe for chaos, leading to a final image where everyone is looking in five different directions.
The General Rule: Treat the professional lens as the absolute authority. Ignore the sea of smartphones. If you shift your gaze to a relative's phone, you're guaranteeing a ruined shot in the final professional gallery.
The System: Designate a bridesmaid, coordinator, or groomsman to act as the "phone bouncer." Have them politely ask well-meaning guests to put their devices away until the pro secures the shot.
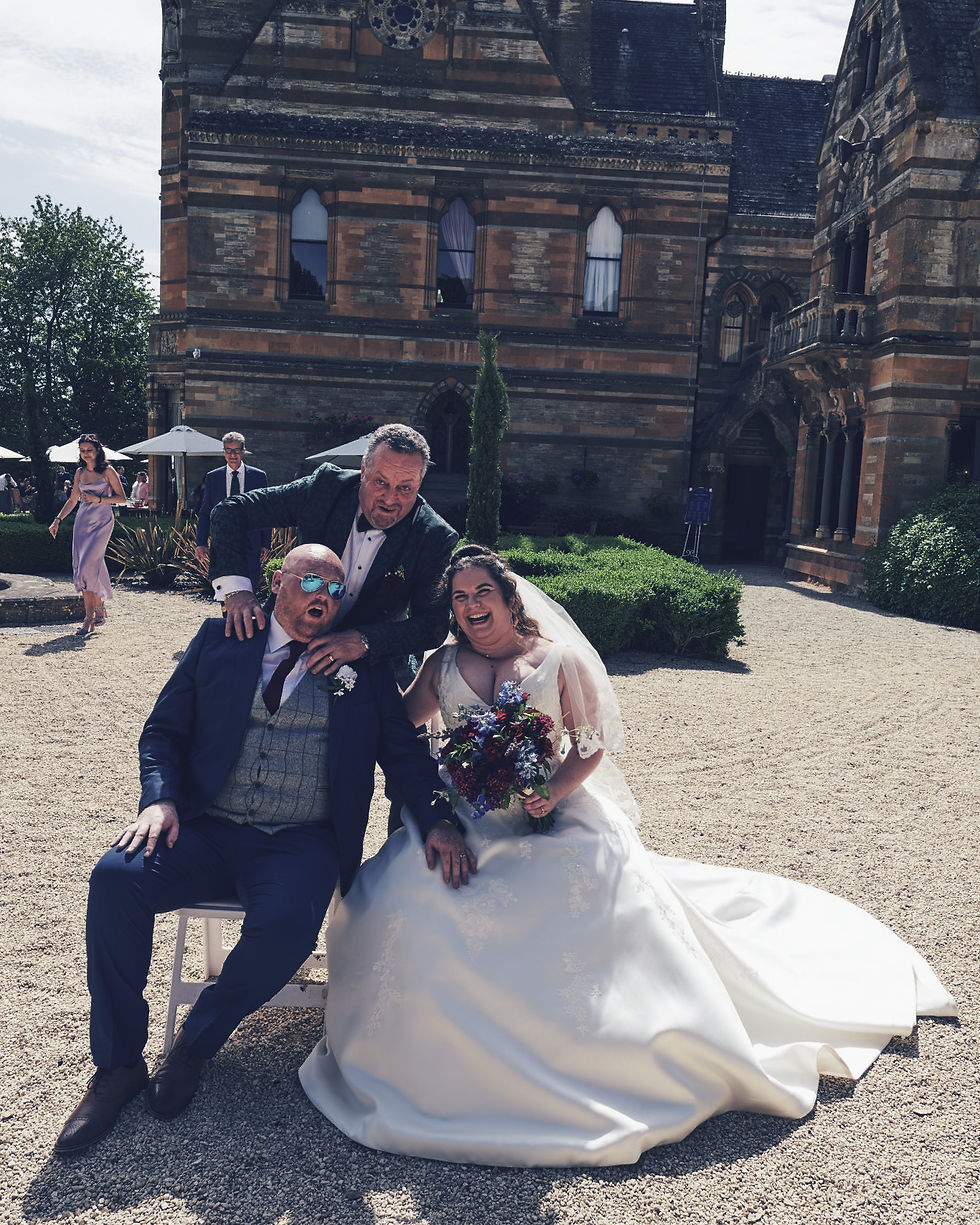
4. Work the Levels (Because Flat Rows Are Visual Boredom)

If you have a large family group, standing in one long, flat row is the ultimate design flaw. It makes the people on the far ends look miles away and completely detaches them from the couple.
The Fix: Think in layers and levels rather than a flat wall. Seat grandparents or parents in stylish chairs at the front, have the couple stand directly behind them, and have taller relatives or cousins utilise steps, benches, or architectural features to stand in the back. Creating a diamond or pyramid shape is infinitely more modern, intimate, and editorial.
💡 Pro-Tip for the Couple: Give your photographer a strict, named list of family groupings (e.g., Bride + Groom + Bride's Parents) a month before the wedding. Assign a loud, highly organised cousin to act as the "gatherer" to call out who is up next. This keeps the energy high, completely avoids the awkward huddling, and ensures you breeze through 15 groupings in 20 minutes instead of an hour.
Part 7: For Wedding Guests – Nailing the Candids & Cocktail Hour
You dressed up to the nines, and you want the photos to prove it! Whether you are posing for a quick portrait with friends or trying to look naturally amazing when the photographer pans across the lounge, keep these tips in mind to ensure you make the final gallery cut.
1. The Sitting Trick (For Tabled/Lounge Photos)

If a photographer approaches your table during dinner or cocktail hour, the instinct is often to freeze, sit back, or hold up a peace sign.
The Fix: Lean slightly forward from the waist toward the centre of the table or group. Sitting back flat against a chair can cause you to slouch and creates unflattering angles under the chin. Leaning forward elongates the spine, engages your posture, and instantly makes you look vibrant, engaged, and attentive.
The Angled Sit: If you're on a lounge sofa, don't sit dead-on facing the camera. Angle your hips slightly to the side, cross your legs at the ankles rather than the knees, and keep your hands relaxed in your lap.
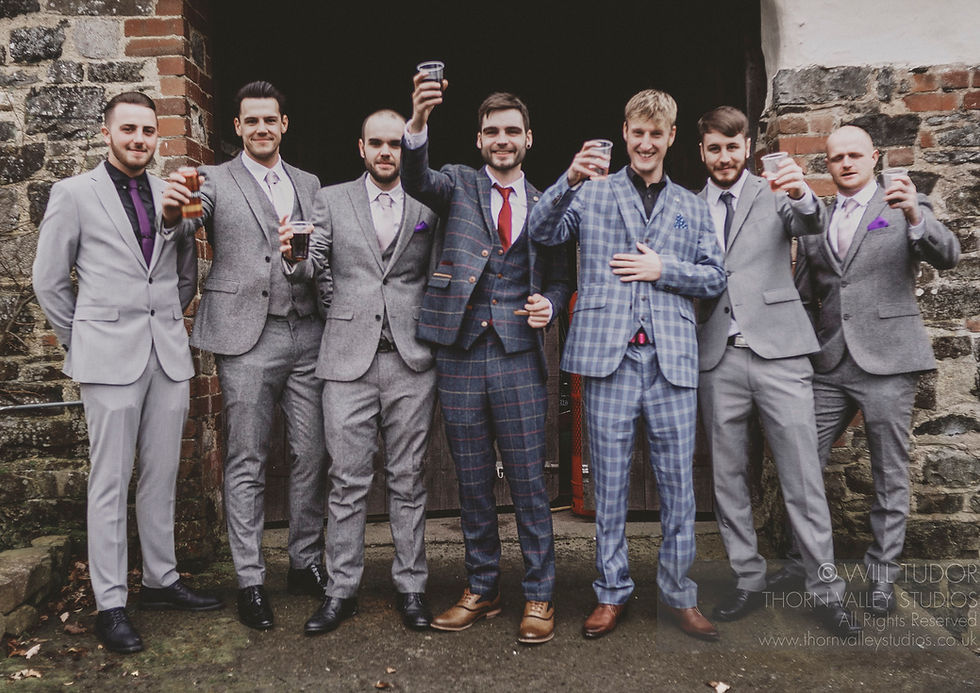
2. Watch Your Drinks (and Props!)
Holding a half-empty beer bottle, a melting cocktail, or a crumpled napkin right in front of your chest can ruin an otherwise stunning outfit.
The Fix: If you see the camera coming, lower your drink to hip level, holding it slightly to the side to keep your torso clear. Alternatively, set it down entirely.
The "Cheers" Rule: If you want to keep the drink in the shot, commit to it! Raise it up high proudly to toast someone rather than holding it awkwardly at chest height like a shield.
🚫 Quick Warning: Avoid holding glasses by the very top or cupping them with both hands. Hold a wine or champagne glass elegantly by the stem—it looks much more refined and keeps your hands looking soft.
3. Move and Laugh

The best candid photos of guests are captured when they are actively engaging.
The absolute worst thing you can do is freeze like a deer in headlights the moment you see a lens point your way.
The Fix: Ignore the camera and keep the momentum going. Keep talking to the person next to you, let out a genuine laugh, or raise your glass to someone across the room. Animation is a photographer's best friend; a slight head tilt, a smile mid-sentence, or a hand gesture creates a dynamic story in a single frame.
4. Navigating the Dance Floor
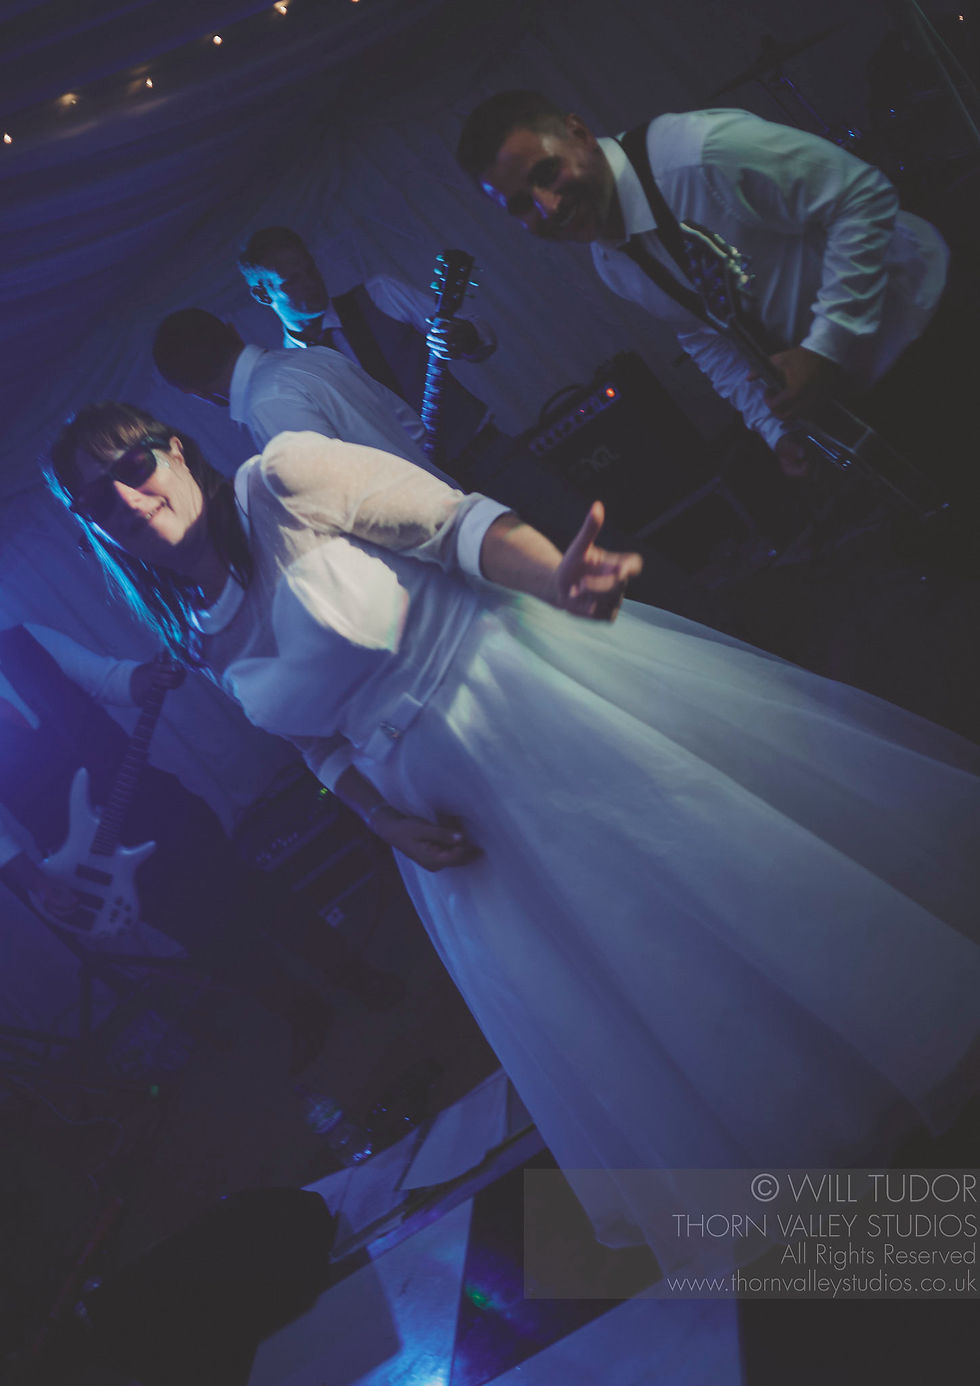
When the lights go down and the music cranks up, the photographer will be looking for high-energy crowd shots.
Hands Up, Shoulders Down: When dancing, feel free to throw your hands in the air, but try not to tense your shoulders up toward your ears.
Avoid the "Photo-Bomb" Face: If you see a photographer taking a romantic, candid photo of the newlyweds dancing, resist the urge to jump into the background making a funny face. Let them have their cinematic moment, and save the silly poses for the photo booth!
Cheat Sheet: Go-To Poses At A Glance
Who It's For | Pose Name | How to Do It | Why It Works |
Bride | The Over-the-Shoulder | Walk away from the camera, then glance back over your shoulder with a soft smile. | Shows off the back details of the dress effortlessly. |
Family | The Layered V | Tallest people in the back/centre, shorter on the sides, all angled slightly inward. | Creates a dynamic depth instead of a flat wall of people. |
Guests | The Cocktail Stance | Weight on the back leg, one hand holding a glass low, the other in a pocket or on a hip. | Casual, confident, and keeps you from looking stiff. |
A Final Note: Trust the Professional
At the end of the day, the best photos are the ones where joy, love, and celebration shine through.
If you are laughing, chatting, and completely immersed in the day, the photographer will capture the magic.
Relax, enjoy the champagne, and remember to smile!
Chat with us today and let's put all this into practice...


Comments